

What are we serving today? Water. Straight up. Because there’s so much confusion around how to know when your houseplants need it and the best way to give it to them. There’s no skimming the surface, in this article we’re going to take a deep dive into the hows and whys of watering, and even get our hygrometers out to really get a handle on how humidity plays its part.
Putting on the pressure: H2O, humidity and how it travels
This is your warning that we’re going to get geeky on you, lightly touching on some of the science and biology behind what water is, how it’s taken up by plants, and its relationship to soil. If this isn’t your bag, feel free to jump straight down to the section called By the dash or by the gallon, where you can learn how to practice what we preach.
All is not what it seems
When we think about water, we think about what it does: hydrates and cleans, but we don’t often think about what it is, or even what’s in it. As its chemical formula, H2O, suggests, water is made up of hydrogen and oxygen, both of which are vital to plants being able to photosynthesise (convert light energy into sugars) and respire (convert these sugars into the energy they need to grow). It also contains minerals like calcium, potassium and fluoride, as well as salts and bacteria. Tap water goes through complex processes to filter out bacteria and other nasties, largely cleaned through the addition of chlorine, which most houseplants can tolerate, but which plants like Calatheas (Prayer plants) and Dracaenas (Corn plants) absolutely hate. For these guys it’s a good idea to use rain or filtered water, to boil the water and let it cool, or to let the water sit in your can for a few hours so that the chlorine can evaporate.
You’ll also have heard of hard versus soft water. But what does this mean and does it affect our plant family? The difference is in how many minerals there are in it. Hard water — which is more common in the UK – has high levels of calcium and magnesium and these give it a more alkaline pH. It’s for this reason you might see a white, salt-like build-up on the soil surface of your plants, which some people confuse with mould, but is actually limescale. If your plant doesn’t have good drainage and the water isn’t flushed through the soil often enough, these minerals can build up, preventing your plants from being able to absorb the other nutrients they need, and resulting in problems like stunted growth and yellowing leaves. Ferns, which prefer more acidic soil for instance, will turn their noses up at this limey, alkaline nonsense. It’s the equivalent of offering someone who likes a dry martini a strawberry daiquiri!
Photo by Manki Kim on Unsplash
Gravity defying
So how exactly do plants take their tonic? Let’s go back to GCSE level biology (for those in the know, forgive us for patronising you, but it’s always good to have a refresh). They absorb water through a process called osmosis, where it moves from a high to a low concentration through a permeable membrane; in this case, the outer layer of cells making up roots. When it’s rained or you’ve watered your plant and the soil is moist, the concentration of H2O is higher in the soil than in the roots, triggering osmosis. As water enters cells in the roots, pressure builds, moving it along from cell to cell until it reaches the xylem vessels. Xylem vessels run right up from the roots through the plant – a bit like how our vein network distributes blood from our heart around our bodies – delivering water and nutrients in the form of sap to where it’s needed.
If you think about how water moves vertically, against gravity, up plants as tall as trees, it’s enough to earn them some serious respect! They do this through a combination of the pressure caused during osmosis at root level together with a process called transpirational pull at canopy level, where, as water evaporates from stomata on the undersides of leaves, it creates an upward internal suction.
Soil and water, a tricky relationship
How much water your plant can absorb through its roots will largely depend on the soil it's in, which can open up another confusing subject: what potting compost should I use?! You will have heard terms like peat free, organic matter, multi-purpose and free-draining, but what do they mean? Fear not, we’ll go into the nitty gritty of soil types in another article.
For now, what you need to know is that the smaller the particle size of your soil, the smaller the gaps between the particles in which air and water can move, and the less free-draining your soil will be. Think about clay and silt, which you can pick up and squeeze into a shape – kids love doing this. In comparison, the larger the particle size of your soil, the larger the gaps between the particles, and the more water and air will move freely through it e.g. sand, or bits of bark. In general we’re aiming for a balance between the two, where some sticks, and the rest runs through.
Plants have different soil preferences and watering needs (and we know now how one affects the other) so do your research before potting them up. Avoid compacting the soil by pressing down too firmly to stabilise them - they need that air! And last but not least, repot your plants every 2-3 years, not only to refresh their nutrient levels but to maintain a nice open soil structure so that they can drink their fill.
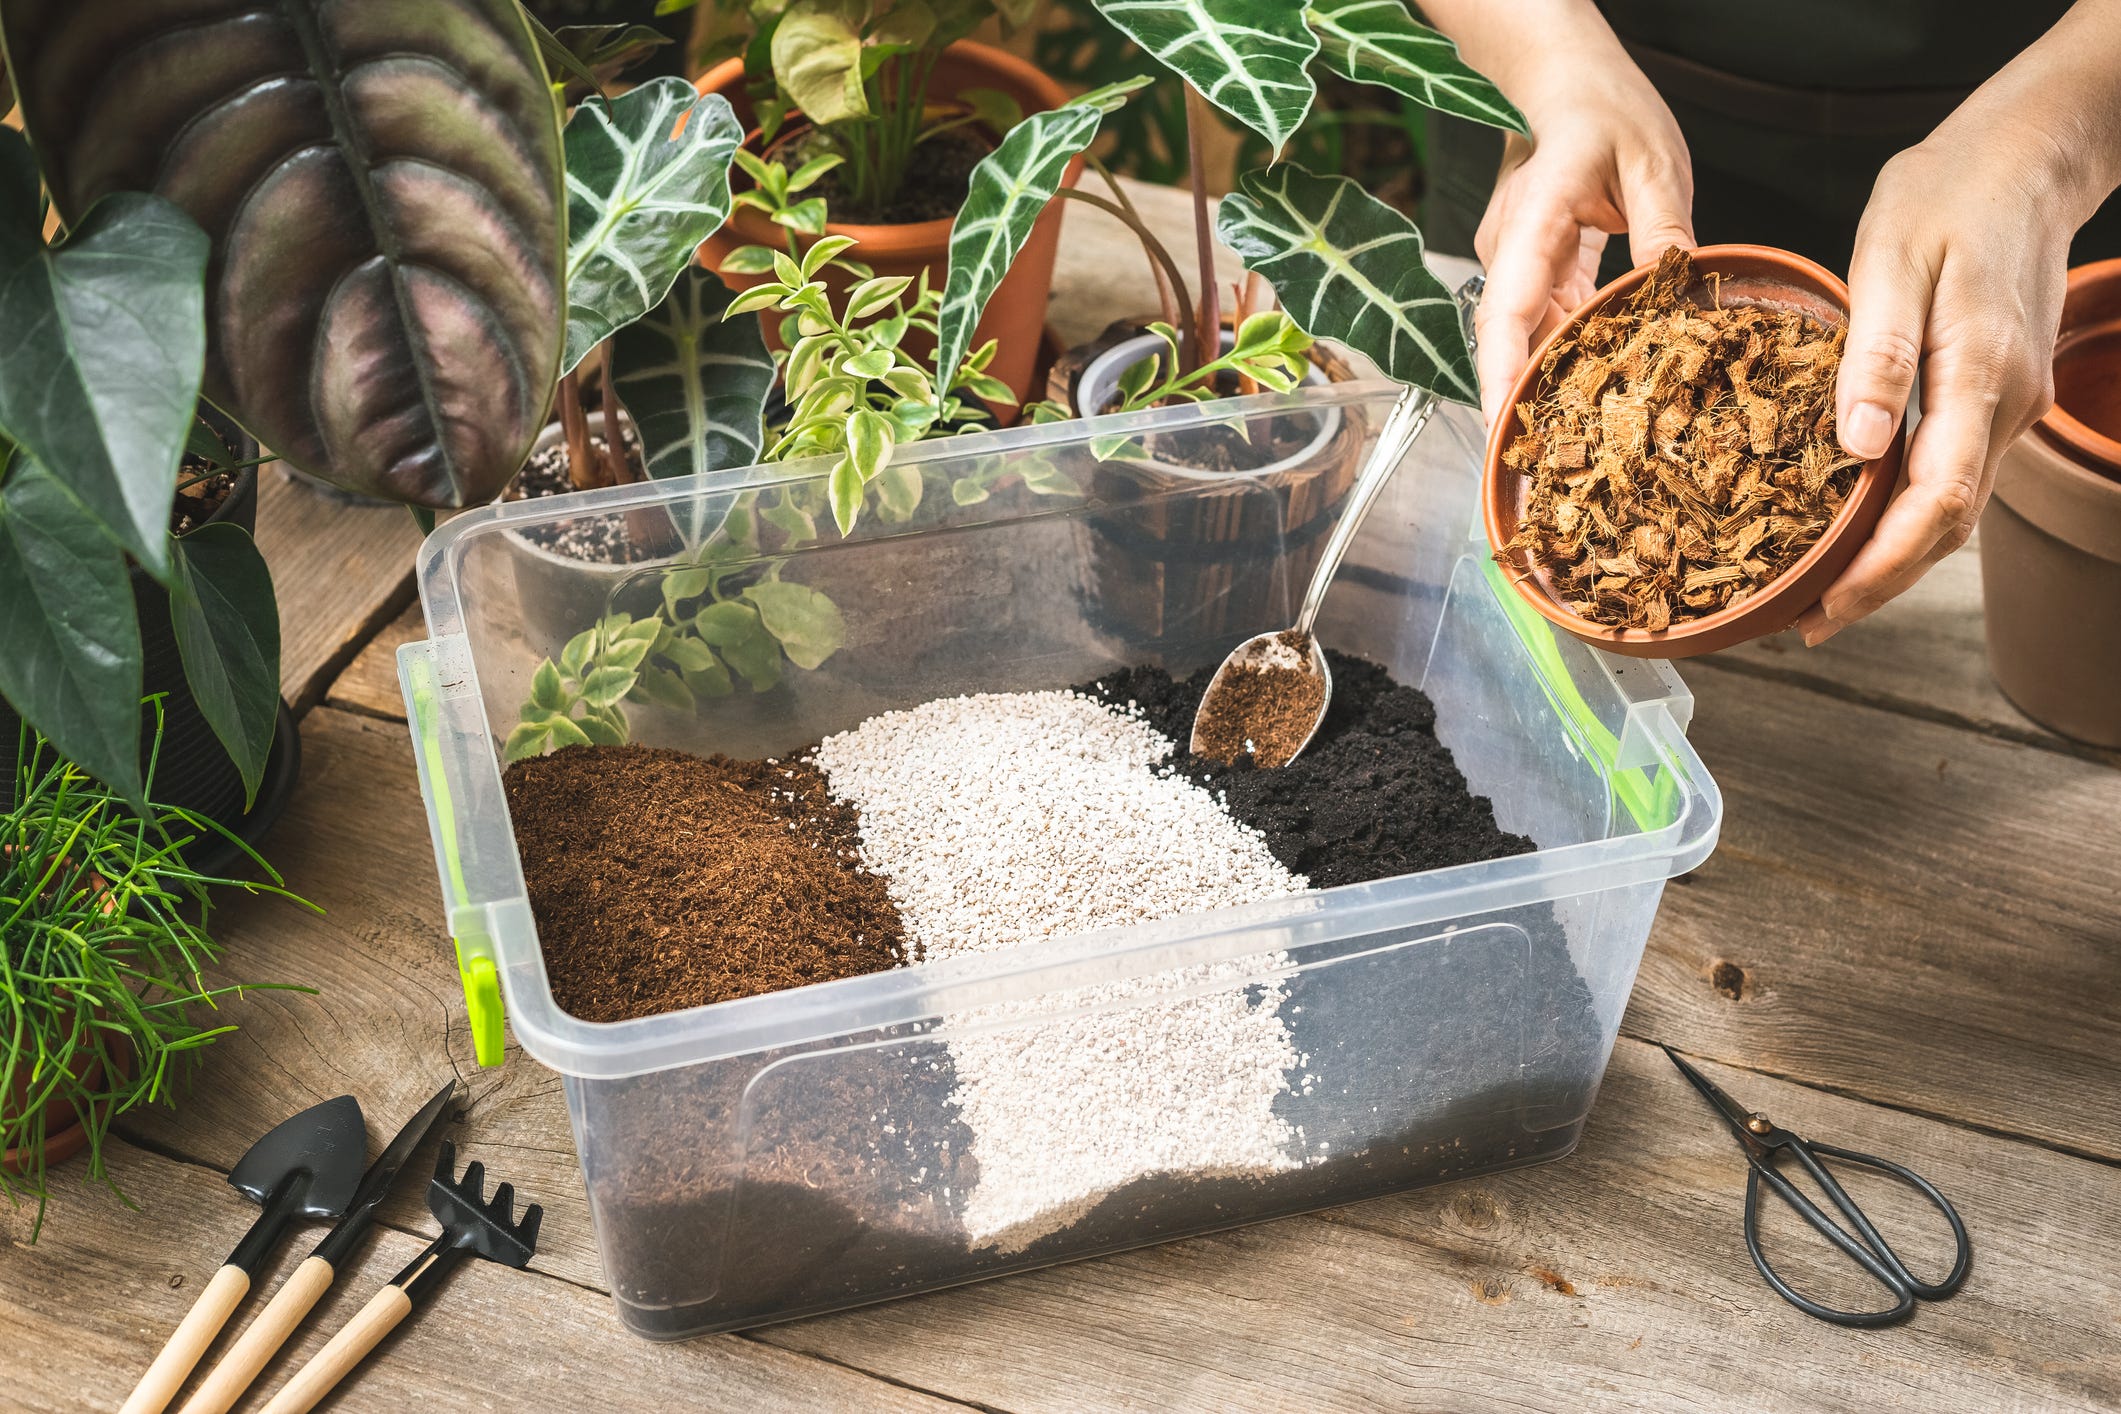
Image by AnSyvanych on Unsplash
Drowning or dehydrated
If the soil gets really dry, because of drought in the outside world, or due to under watering of plants in pots at home, the flow of water and nutrients moving up through plants from roots to leaves gets interrupted. The first sign of this is one we’re all familiar with – wilting! – but other signs include stunted growth and leaf drop.
If plants are left too long without water, the root cells will dry and shrink up completely, so that even if they are given a drink, they won’t be able to absorb it. The same thing can happen if your soil becomes hydrophobic, where, as it dries out the tiny microbes that live in soil cover it with a waxy coating that repels water.
Signs of underwatering
Dry, wilted leaves
Soil feels dry and is pulling away from the edges of the pot
Water runs straight through the soil before being absorbed
No growth. A plant can’t grow without water
Light brown, faded leaves
Increased pest infestations like spider mites and thrips
In the opposite situation, if a plant is overwatered (or flooded), water completely replaces the oxygen in the spaces between soil particles. This means the roots no longer have the oxygen they need to respire and their ability to absorb water becomes limited. This can very quickly lead to root rot, which if not caught quickly can cause the death of your plant. To confuse matters, the side effects of overwatering can sometimes look really similar to drought, including wilting, yellowing leaves and leaf drop.
Signs of overwatering
The soil is still wet days after watering
Limp, wilted leaves
Dark, soft brown patches between the veins of leaves
Mouldy soil and/or fungus gnats/sciarid flies around the soil
Stems turning brown and mushy before rotting off
Black, slimy roots that smell
New growth is underdeveloped and rots off
See our article on Root rot for everything you need to know on how to tackle this challenge including more on the watering requirements of different plants.
Taking into account what we now know about how plants process water, there’s two more important points worth mentioning.
Soak it up with the sun
It might seem like common sense, but we’ll say it anyway: the brighter the light and the longer the days, the more quickly your plants will dry out and the more often you’ll need to water them. This means in hot, dry summers you may need to water every couple of days but in winter only every few weeks. In winter most houseplants go dormant and stop growing in response to the shorter days and cooler temperatures. This means they’re not drawing up as much water from the roots through the processes of photosynthesis and transpiration. Think dry January!
Humidity and high winds
Just as the light levels affect how much water a plant uses, so does how dry and windy the air is. The drier and windier it is, the more quickly plants lose water vapour through evaporation and transpiration, with the water literally being wicked away or, in an attempt to keep themselves cool and hydrated. This is because the concentration of water vapour in the air will be lower in hot, dry conditions than inside the plant, stimulating them to seek balance. This is why more tropical plants better adapted to the high humidity of jungles and forests often struggle in dry indoor environments (due to insulation, heating or air con). They dry out quicker and show signs of stress like crispy leaf edges, yellowing and vulnerability to pests because they’re having to work so hard to keep themselves regulated.
In contrast, the higher the humidity, the lower the difference in water vapour concentration between the outside and inside of the plant, and the less water vapour the plant will lose through evaporation. Just as we discovered how the play of pressure pans out below soil level, we can see its impact at leaf level too. As above, so below.
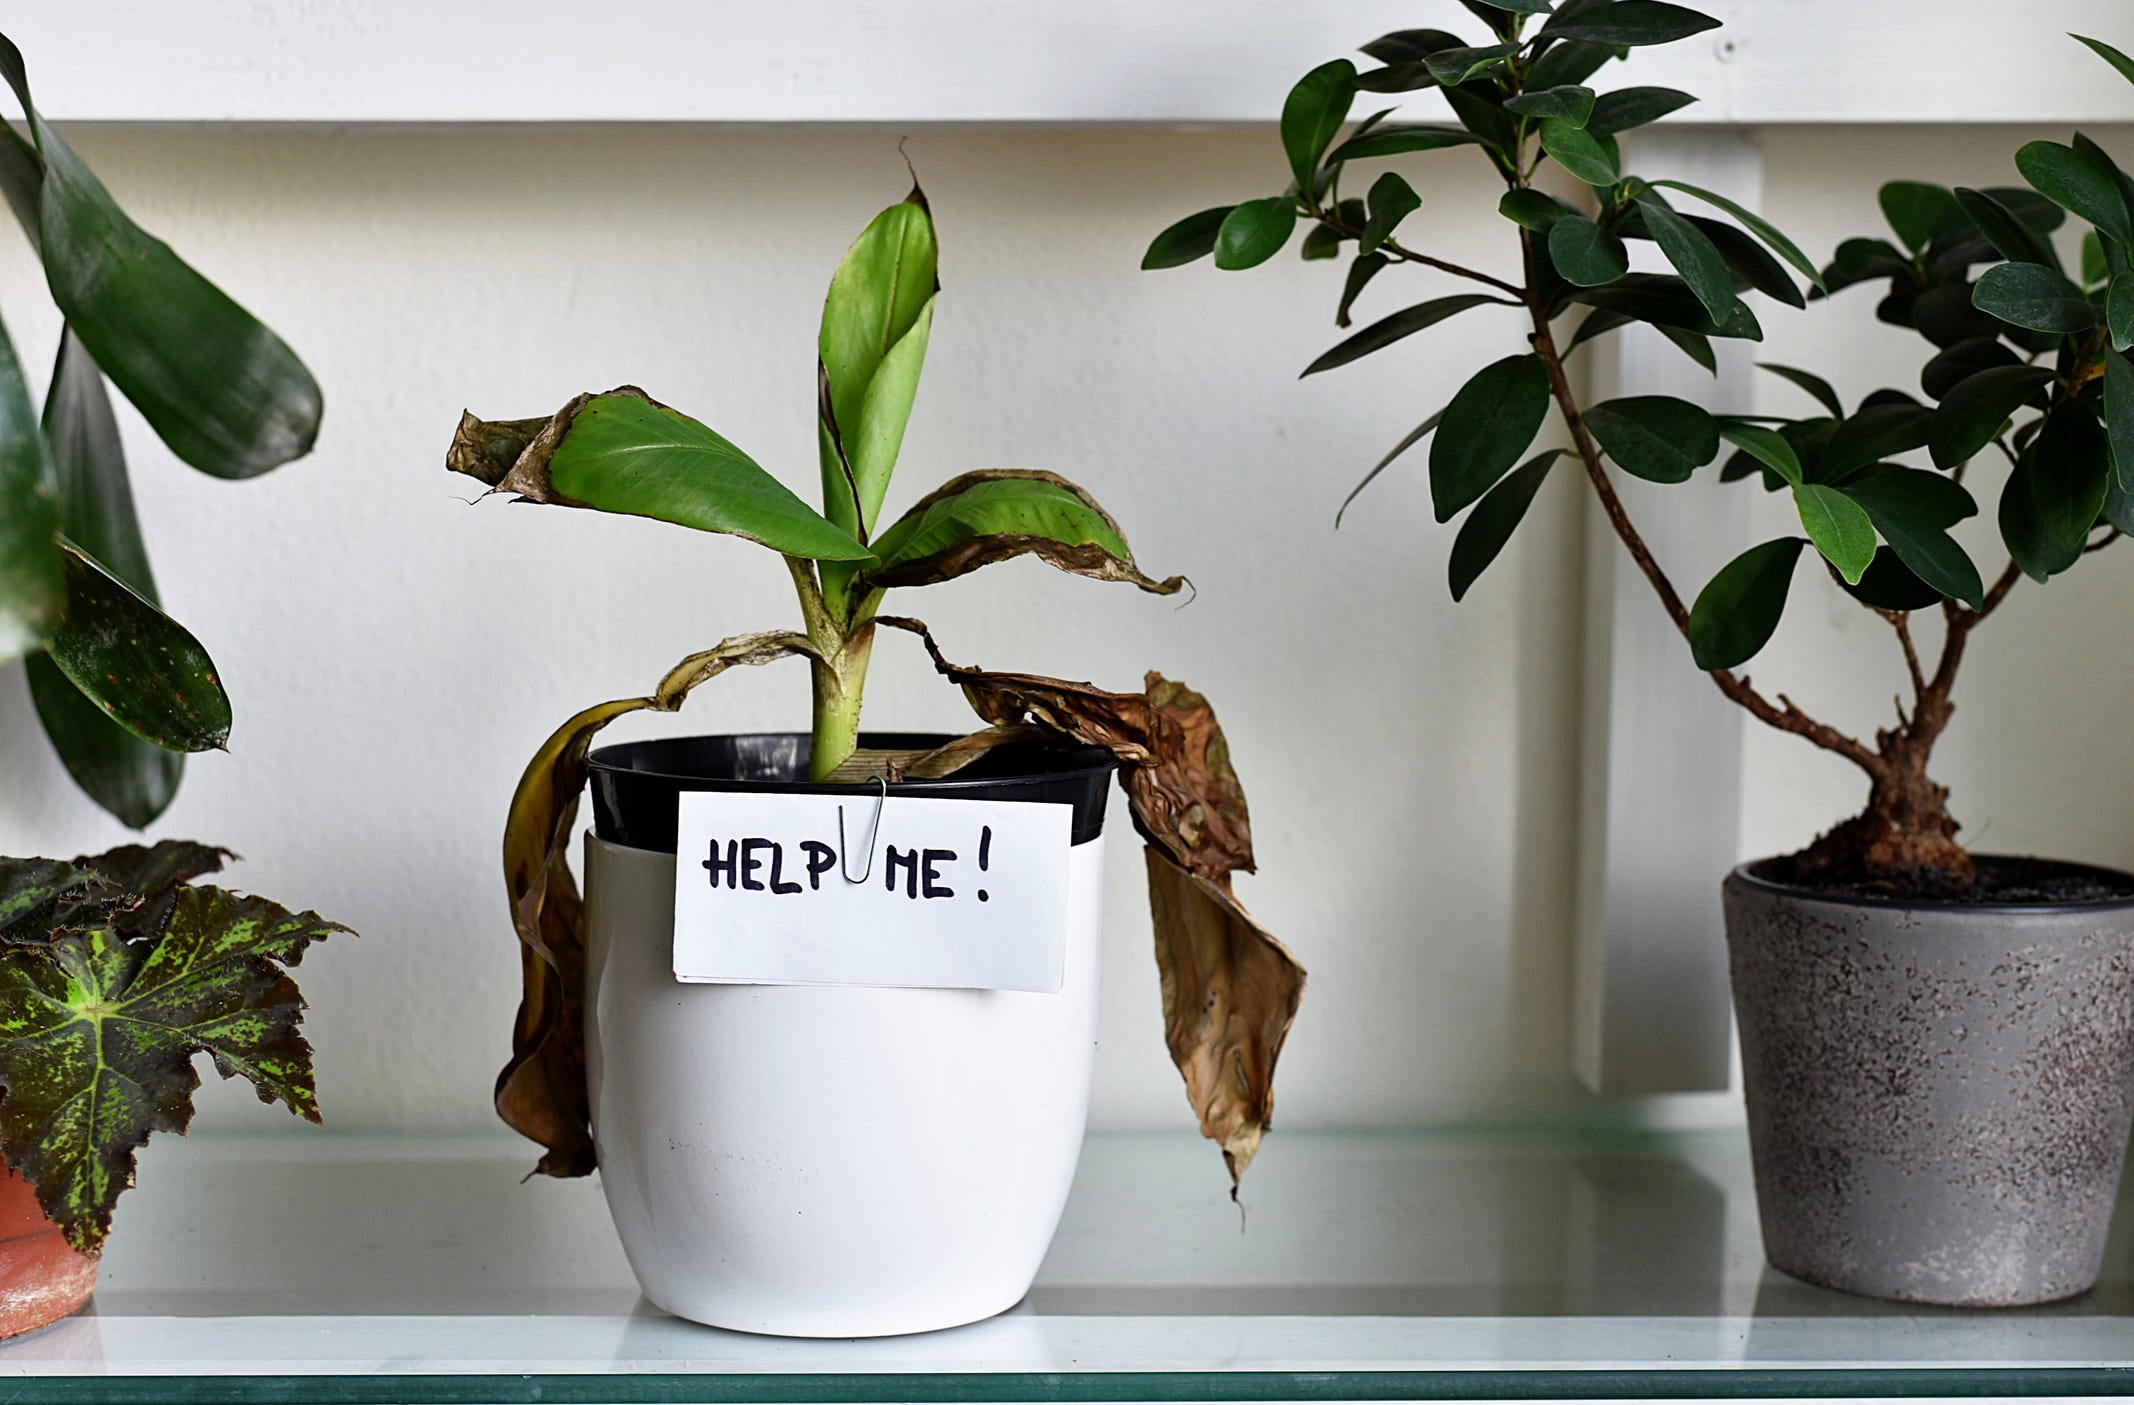
Image by ela bracho on Unsplash
Enough with the jargon and theoretical what’s and why’s, let’s get down to the practicalities of getting your plant pals a pint.
By the dash or by the gallon
There’s no one-size-fits-all answer. Plants need different amounts of water depending on their genus and species. Once you’ve done a bit of homework (and this doesn’t need to be mega by the way, at Patch we pretty much tell you everything you need to know on-site) and know things like ‘it likes consistently moist soil and high humidity’ or ‘pop it in a sunny spot and let it dry out completely between watering’ then you’re good to go. But go where?
From the top, timing and temperature
Unless you’re watering cacti and succulents and other drought tolerant plants like Snake plants (Sansevieria), ZZ’s (Zamioculcas) and Corn plants (Dracaenas), you’ll know to water when the top two inches of soil feel completely dry. You can’t tell if a plant needs water from the surface of the soil alone. Because the soil surface is exposed to light and air it’s always going to dry more quickly than deeper down in the pot, and unless you test this, you can easily overwater. We suggest doing the finger dip test, where you stick your finger into the soil up to the second knuckle. If it comes out damp with soil stuck to it, you know to leave your plant for longer until its next drink. If it comes out dry and dusty, then you’re good to go.
We recommend watering from the top, thoroughly and evenly pouring water over the soil surface until you can just see some coming through the bottom of the nursery pot. That way you know it’s travelled all the way through the soil and reached all the roots. It’s always a good idea to check the saucer or decorative pot your plant is sitting in after five minutes or so. If a pool of water has gathered at the bottom, then you’ll want to tip this out. No death by drowning and root rot on your watch! If there’s just a little bit of water at the bottom, that’s okay, your plant should suck this up within a few hours. The same rule applies if your plant is small enough to lift and water at the sink. Run the tap over the soil until you see water coming through the drainage holes at the bottom of the pot and then let it drain thoroughly (so that it’s no longer dripping) before popping it back into its decorative pot.
Some people like to ‘bottom water’ by filling up the plant’s saucer (if it has one), so the roots suck it up through the pot’s drainage holes. If this is your preference, fine with us, but to know that you’ve watered thoroughly you want to give it enough that the surface of the soil becomes lightly moist. This may mean you have to fill up the saucer a few times before you’ve quenched your plant’s thirst.
Top tip: If your plant is really dehydrated and you think the soil has got to that point of repelling rather than absorbing H2O, then the emergency dunk is the best deal. Fill the sink with water and dunk the whole nursery pot in. Hold it under until all of the air bubbles escape and then let it drain.
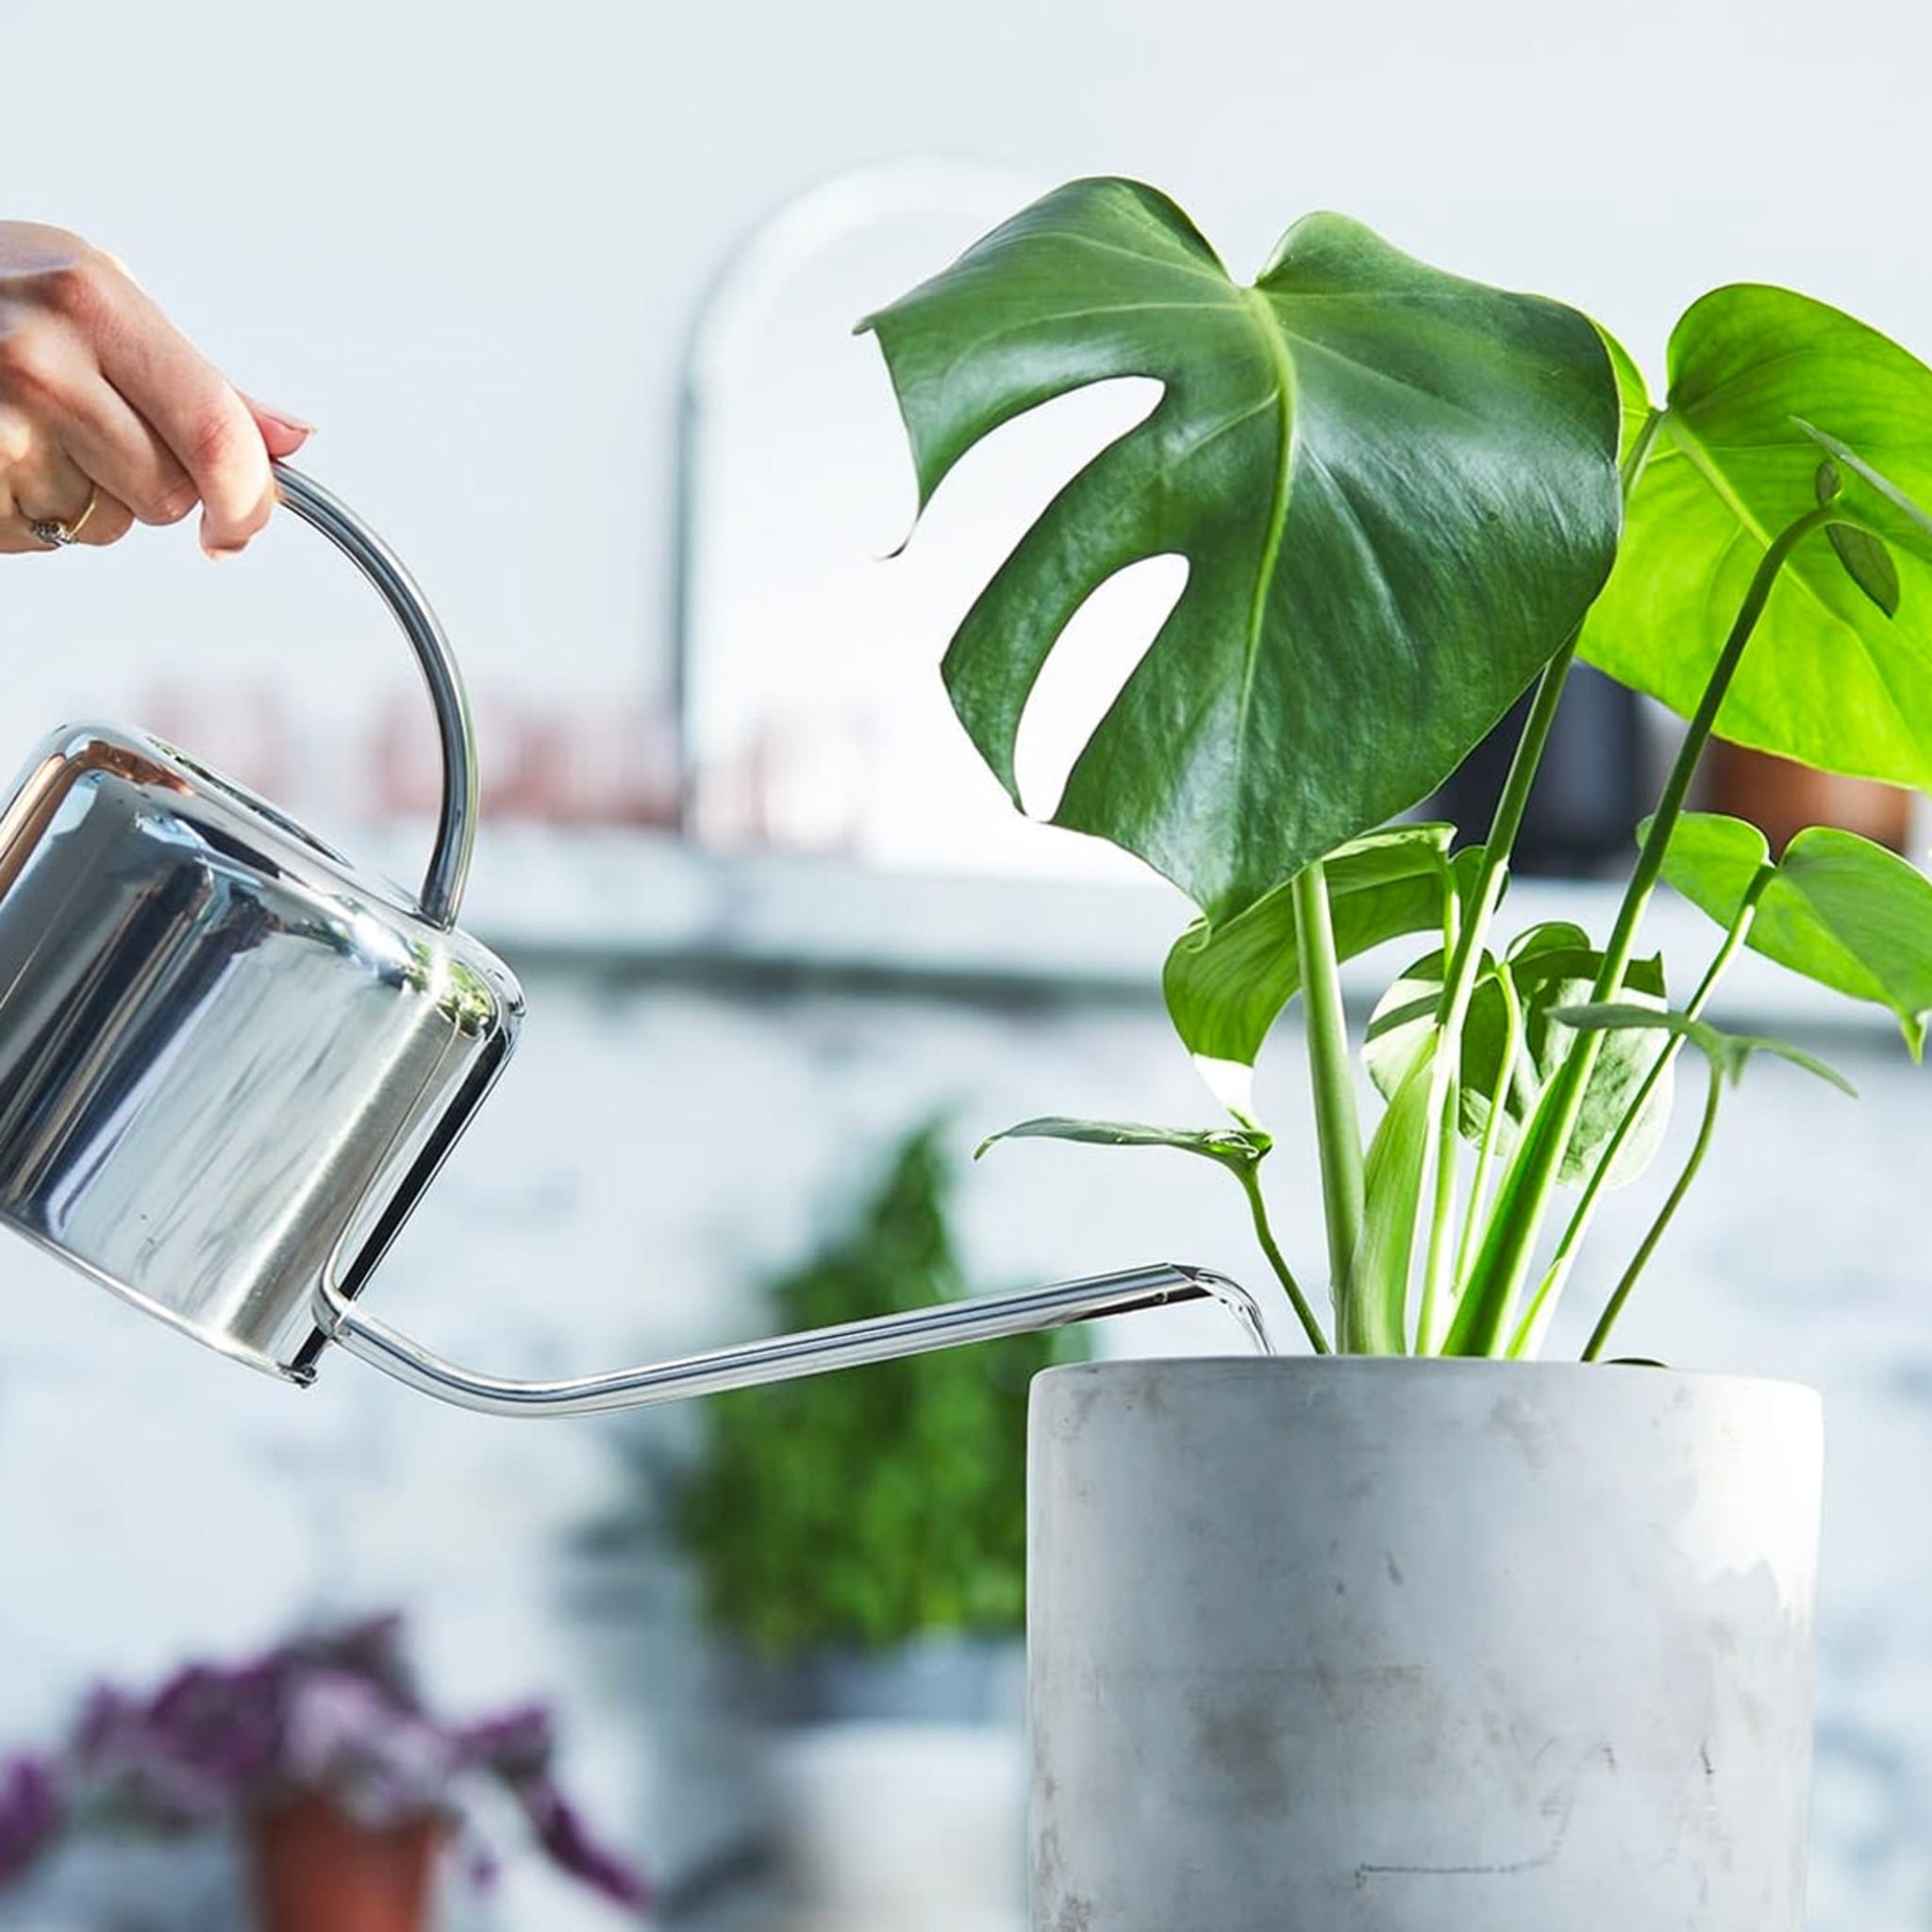
There’s no hard and fast rules for indoor plants but the best time to water your plants is first thing. Because plants grow in response to light, at the start of the day they’ll be gearing up to grow, drawing up any water that you give them as they go.
When you water them, water the soil, not the leaves, so that all that moisture goes directly to the roots that need it. A lot of plants are really sensitive to water on their leaves, especially if the sun’s shining on them, which can cause scorch. It can also be one of the main ways in which any fungal spores are spread (if there’s any lurkers).
It’s really important that you use room temperature water. If it’s too hot it can burn the roots, and if it’s too cold it can cause your plant to go into shock. Unlike us, cold water showers are not good for their physical and mental health!
The forgetful, the neglectful, and those who roam from home
If, despite being armed with all of this handy advice (it’s our pleasure 😀), you're someone who travels a lot (lucky you!) or you’re self aware enough to know that despite all your good intentions, you’re inevitably going to forget to water (no judgement), here’s what to do. . .
make life easy for yourself by getting plants that don’t mind drying out. Cacti and succulents are your best bet. Many of these plants fall under our (Almost) Unkillable list, although perhaps you’ll prove us wrong! Alternatively, hydroponic plants are a good choice, as long as you keep an eye on the water level and give them a top up before going away.
you could also invest in water dispensers, or hydrospikes, which water your plants gradually with no effort from you. You still need to water the soil but as it starts to dry out, the decreasing pressure between the soil and the roots will pull the water from the dispenser.
Apply a layer of clay balls or LECA (lightweight expanded clay aggregate) to the top of the soil. This will stop too much water being lost through evaporation from the soil surface and hold more moisture underneath.
Now that you’re an expert on watering – some might say you’ve just completed your H2O-levels (sorry, not sorry) – you deserve to pour yourself a drink. Have it hot or cold but beware the risks of overwatering apply to us humans too.
Top watering tips
Use room temperature water
Check your plants at least once per week
Only water when the top two inches of soil feel dry - do the finger dip test!
Water the whole rootball evenly and thoroughly
Tip out excess water from the drip tray
Repot your plants regularly to maintain good soil structure
Keep the humidity up
Keep your plants away from draughts
In summer, plants may dry out quickly so water more regularly
Cut back watering in winter, when plants aren’t growing
Remember plants like soil that’s lightly moist, never soggy