

If you have houseplants then it will have happened to you. Or rather, your plant. Whether you’re the most or least attentive plant parent, some yellowing on the leaves of your beloved is inevitable. In fact, one of the most common questions asked about houseplants is, “Why does my plant have yellow leaves?” Well, there are a dozen different reasons, some or all of which might apply to you. Oh no, sorry, your plant. So, let’s take a look at what these are and how to tackle them, without taking it personally.
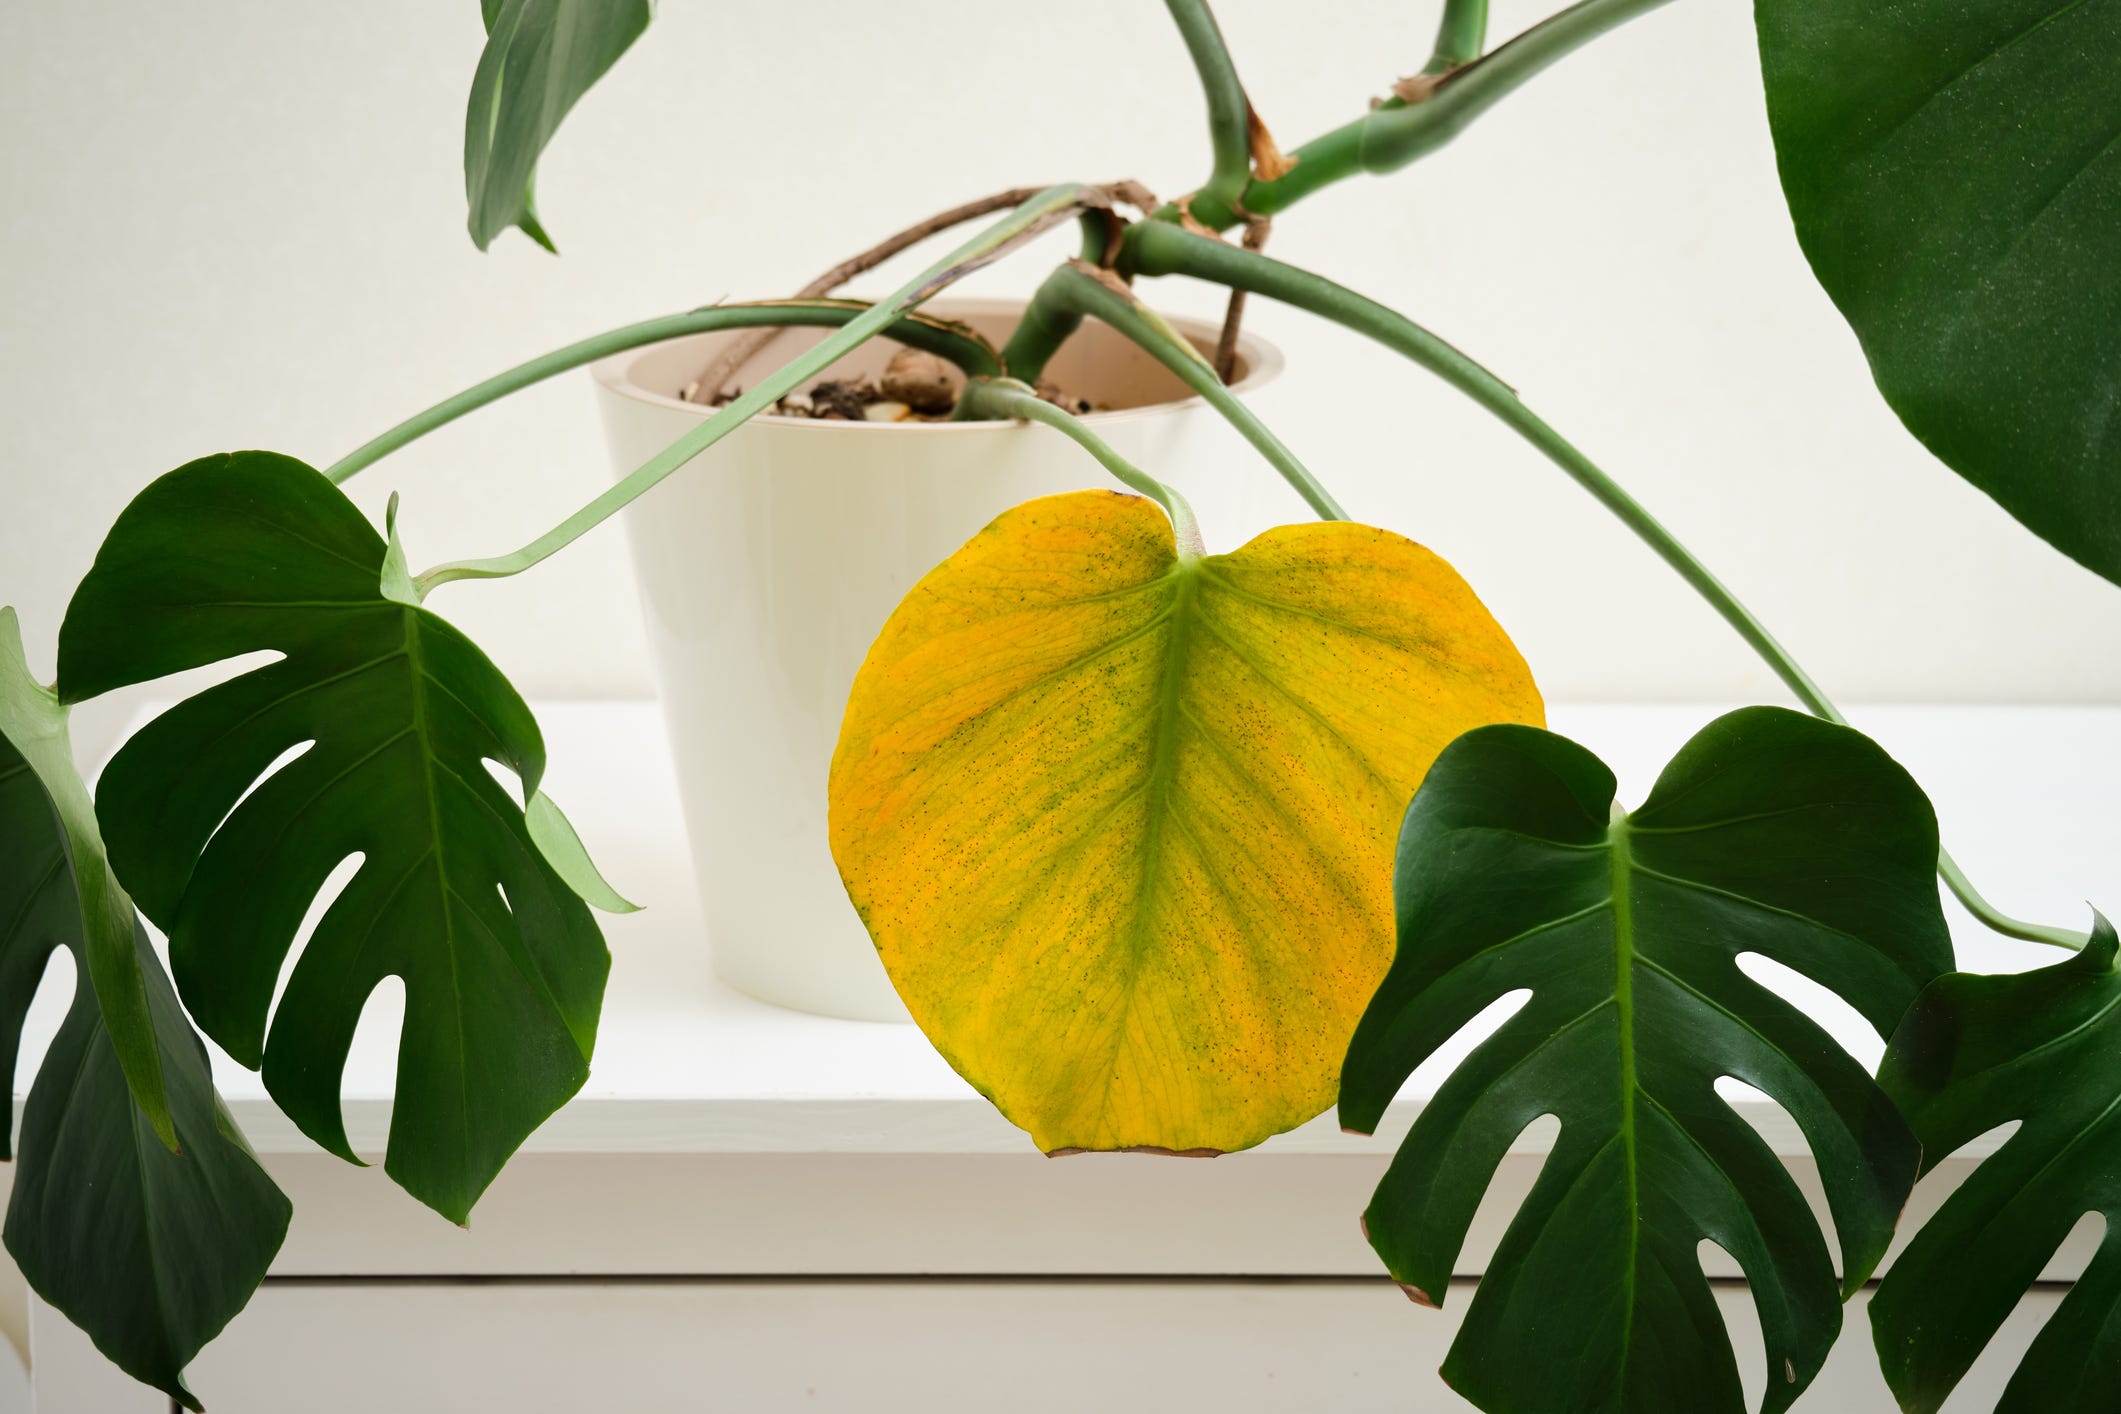
Image thanks to Andrey Zhuravlev, Istock.
Reason 1 - Aging is inevitable
The fact is, yellow leaves can sometimes appear on perfectly happy, healthy plants. As most plants age, some of their older leaves will die off, turning yellow and eventually dropping. This is so the plant can put its energy into new growth, which typically appears at the top or in the middle of the plant. If you see a few yellow leaves near the base of your plant, it’s likely that they’re just old.
Solution: None needed. If 95% of your plant’s leaves are still green and it’s got new shoots, it’s healthy. Just let these older leaves drop off naturally or give them the snip.
Reason 2 - Too much to drink
Let’s face it, everyone of us has at some point been guilty of overwatering. If your plant’s leaves have started to turn yellow quite rapidly i.e. within a couple of weeks to a month, check to see if the soil still feels moist. Not just the surface of the soil, but a minimum of two inches down (we call this doing the ‘finger dip test’). If possible, another way to see if the soil is still damp is to lift the nursery pot out of the decorative pot and look through the holes in the bottom. Firstly, is there still water sitting in the bottom of the pot, secondly, how heavy does the nursery pot feel (it will feel light if it’s dry and heavier if it’s moist) and lastly, does the compost still look dark. Most plants hate to sit in wet soil for long and yellow leaves could be a sign that it’s stressed.
Solution: Remove or trim around yellowing patches on leaves with clean scissors. Cut back on watering. Let the soil dry and then follow up with the finger dip test. You should only water your plant when the top two inches of soil feel dry.
Check the roots for rot by gently removing the plant from its nursery pot. If any of the roots have gone brown, mushy or slimy, you’ll need to cut them off, potentially rinse the roots (and pot) and repot your plant into fresh soil, potentially in a smaller nursery pot. Not all plants will survive root rot, but follow those steps and there’s a chance. Check out our article Root rot: It’s a rotten business, this, for more detailed info and step-by-step instructions.
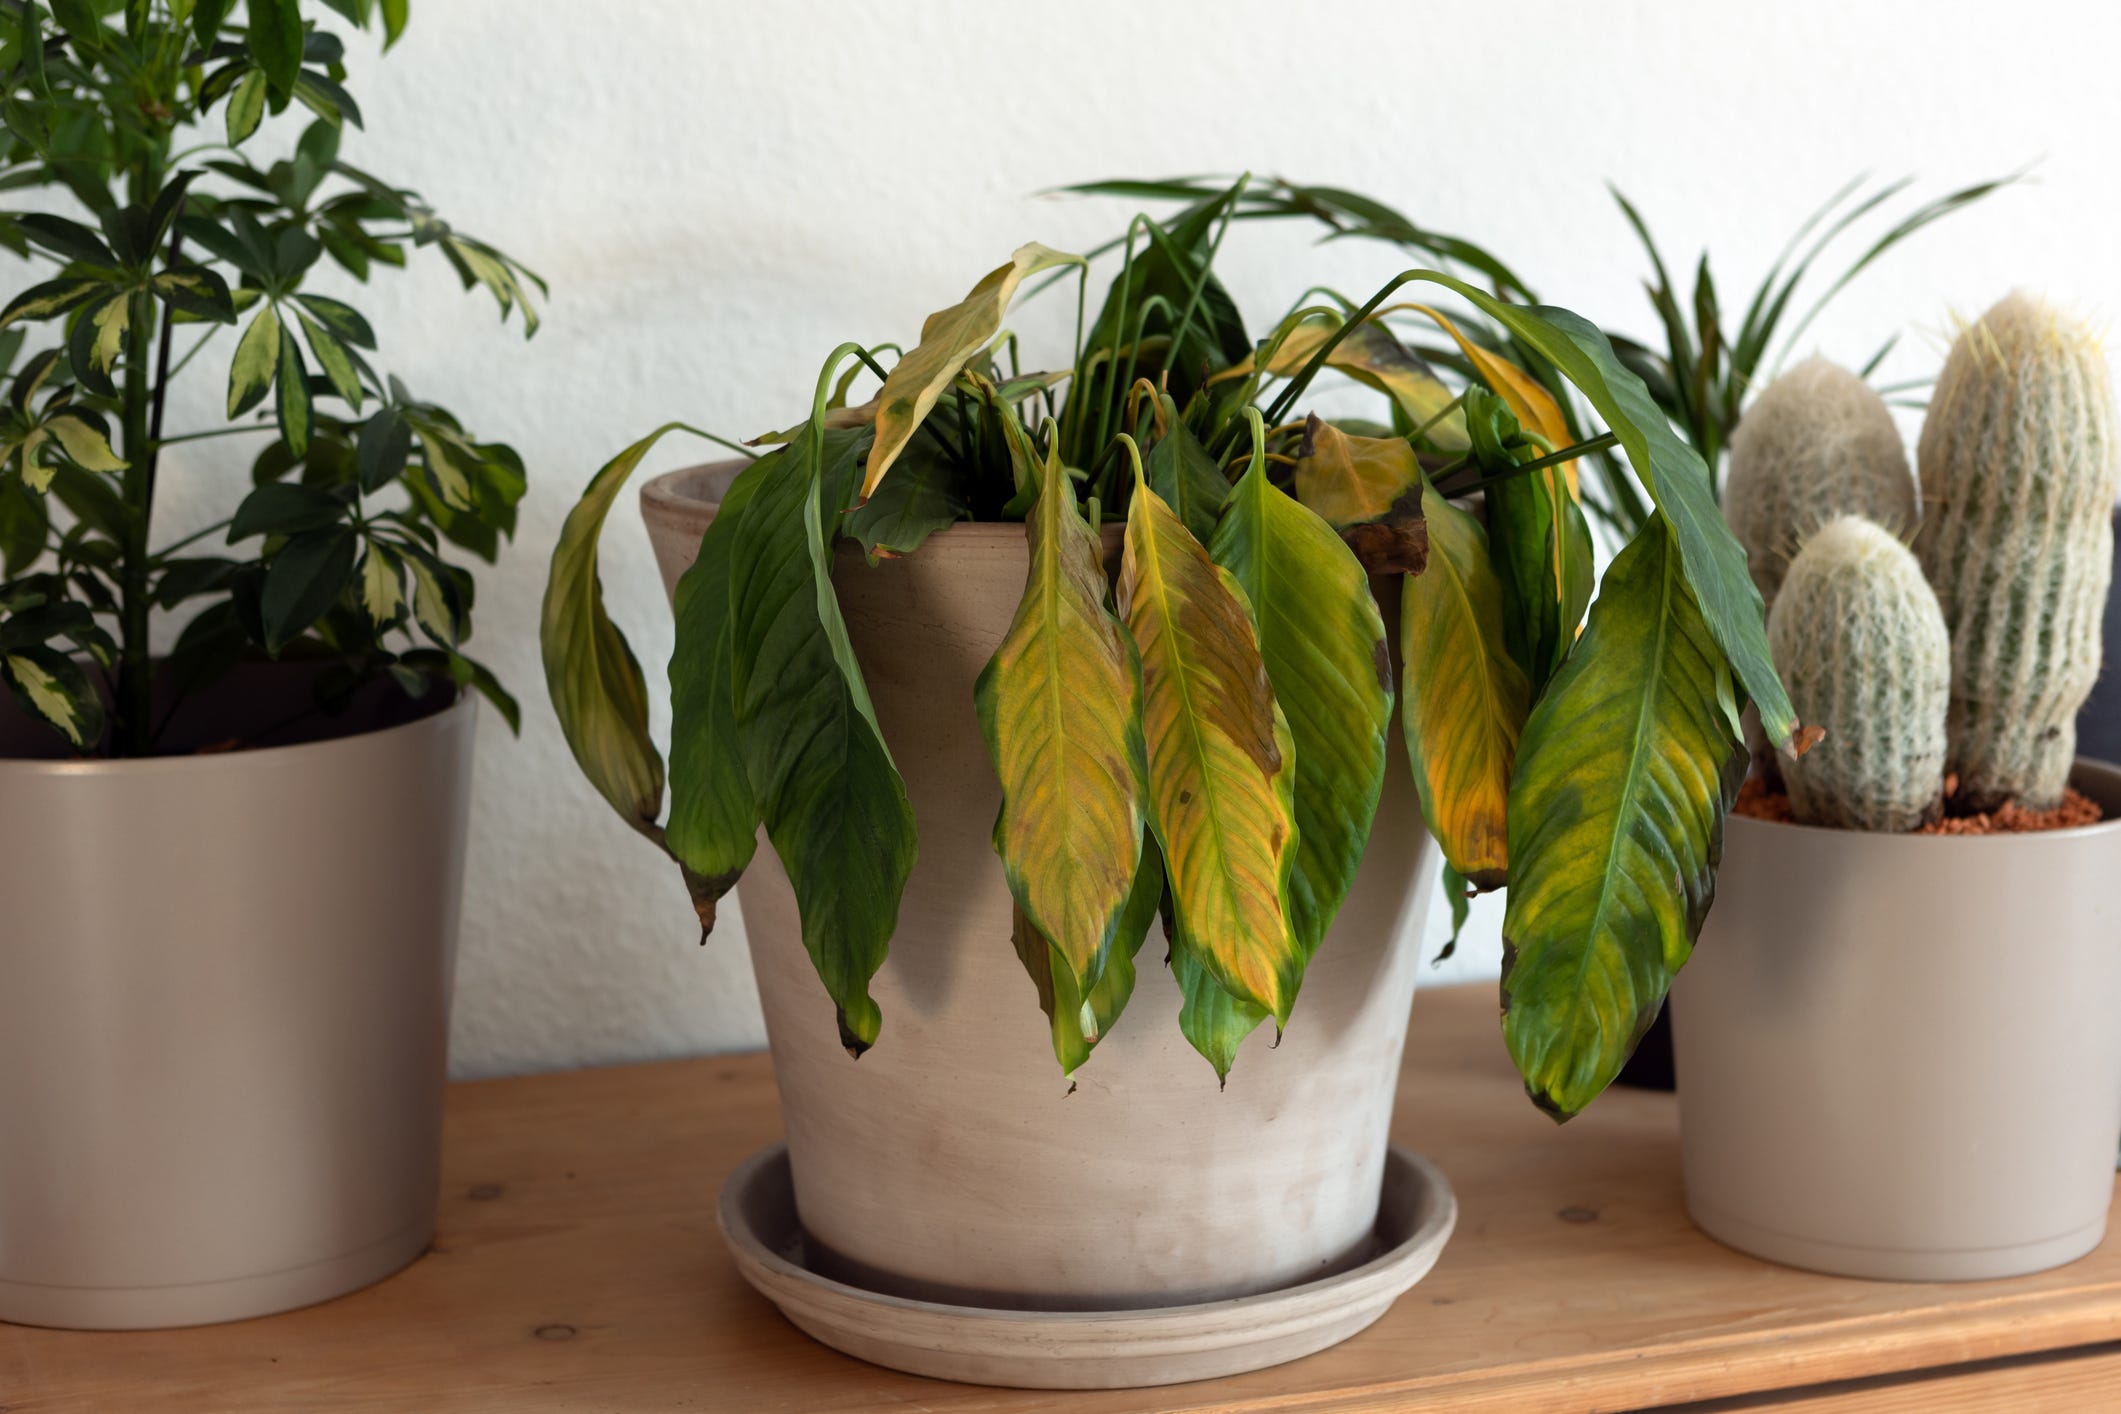
Image thanks to Manuel Adorf, Istock
Reason 3 - Dehydration will do it
Yep, underwatering can cause yellow leaves too, because just as too much water can stress your plants out, so can too little. You’ll know if underwatering is the reason because the soil will feel very dry and the leaves are likely to be a bit wilted (soft and limp).
Solution: Very easy. Water until the soil is lightly moist, then follow the finger dip test so you know when it’s time to water again. Your plant should perk up within a few hours to a couple of days, but any yellow leaves will not become green again, so you’ll need to snip these off or trim around any yellow patches.
To help get your watering just right so that this doesn’t happen again, check out our article on Watering: Time for a tipple. Knowing when and how much to water houseplants can be a bit of a fine art and knowing what each of your plants needs (which can vary greatly) and a bit about how they adapt to seasonal changes can go a long way.
Reason 4 - All root, no soil
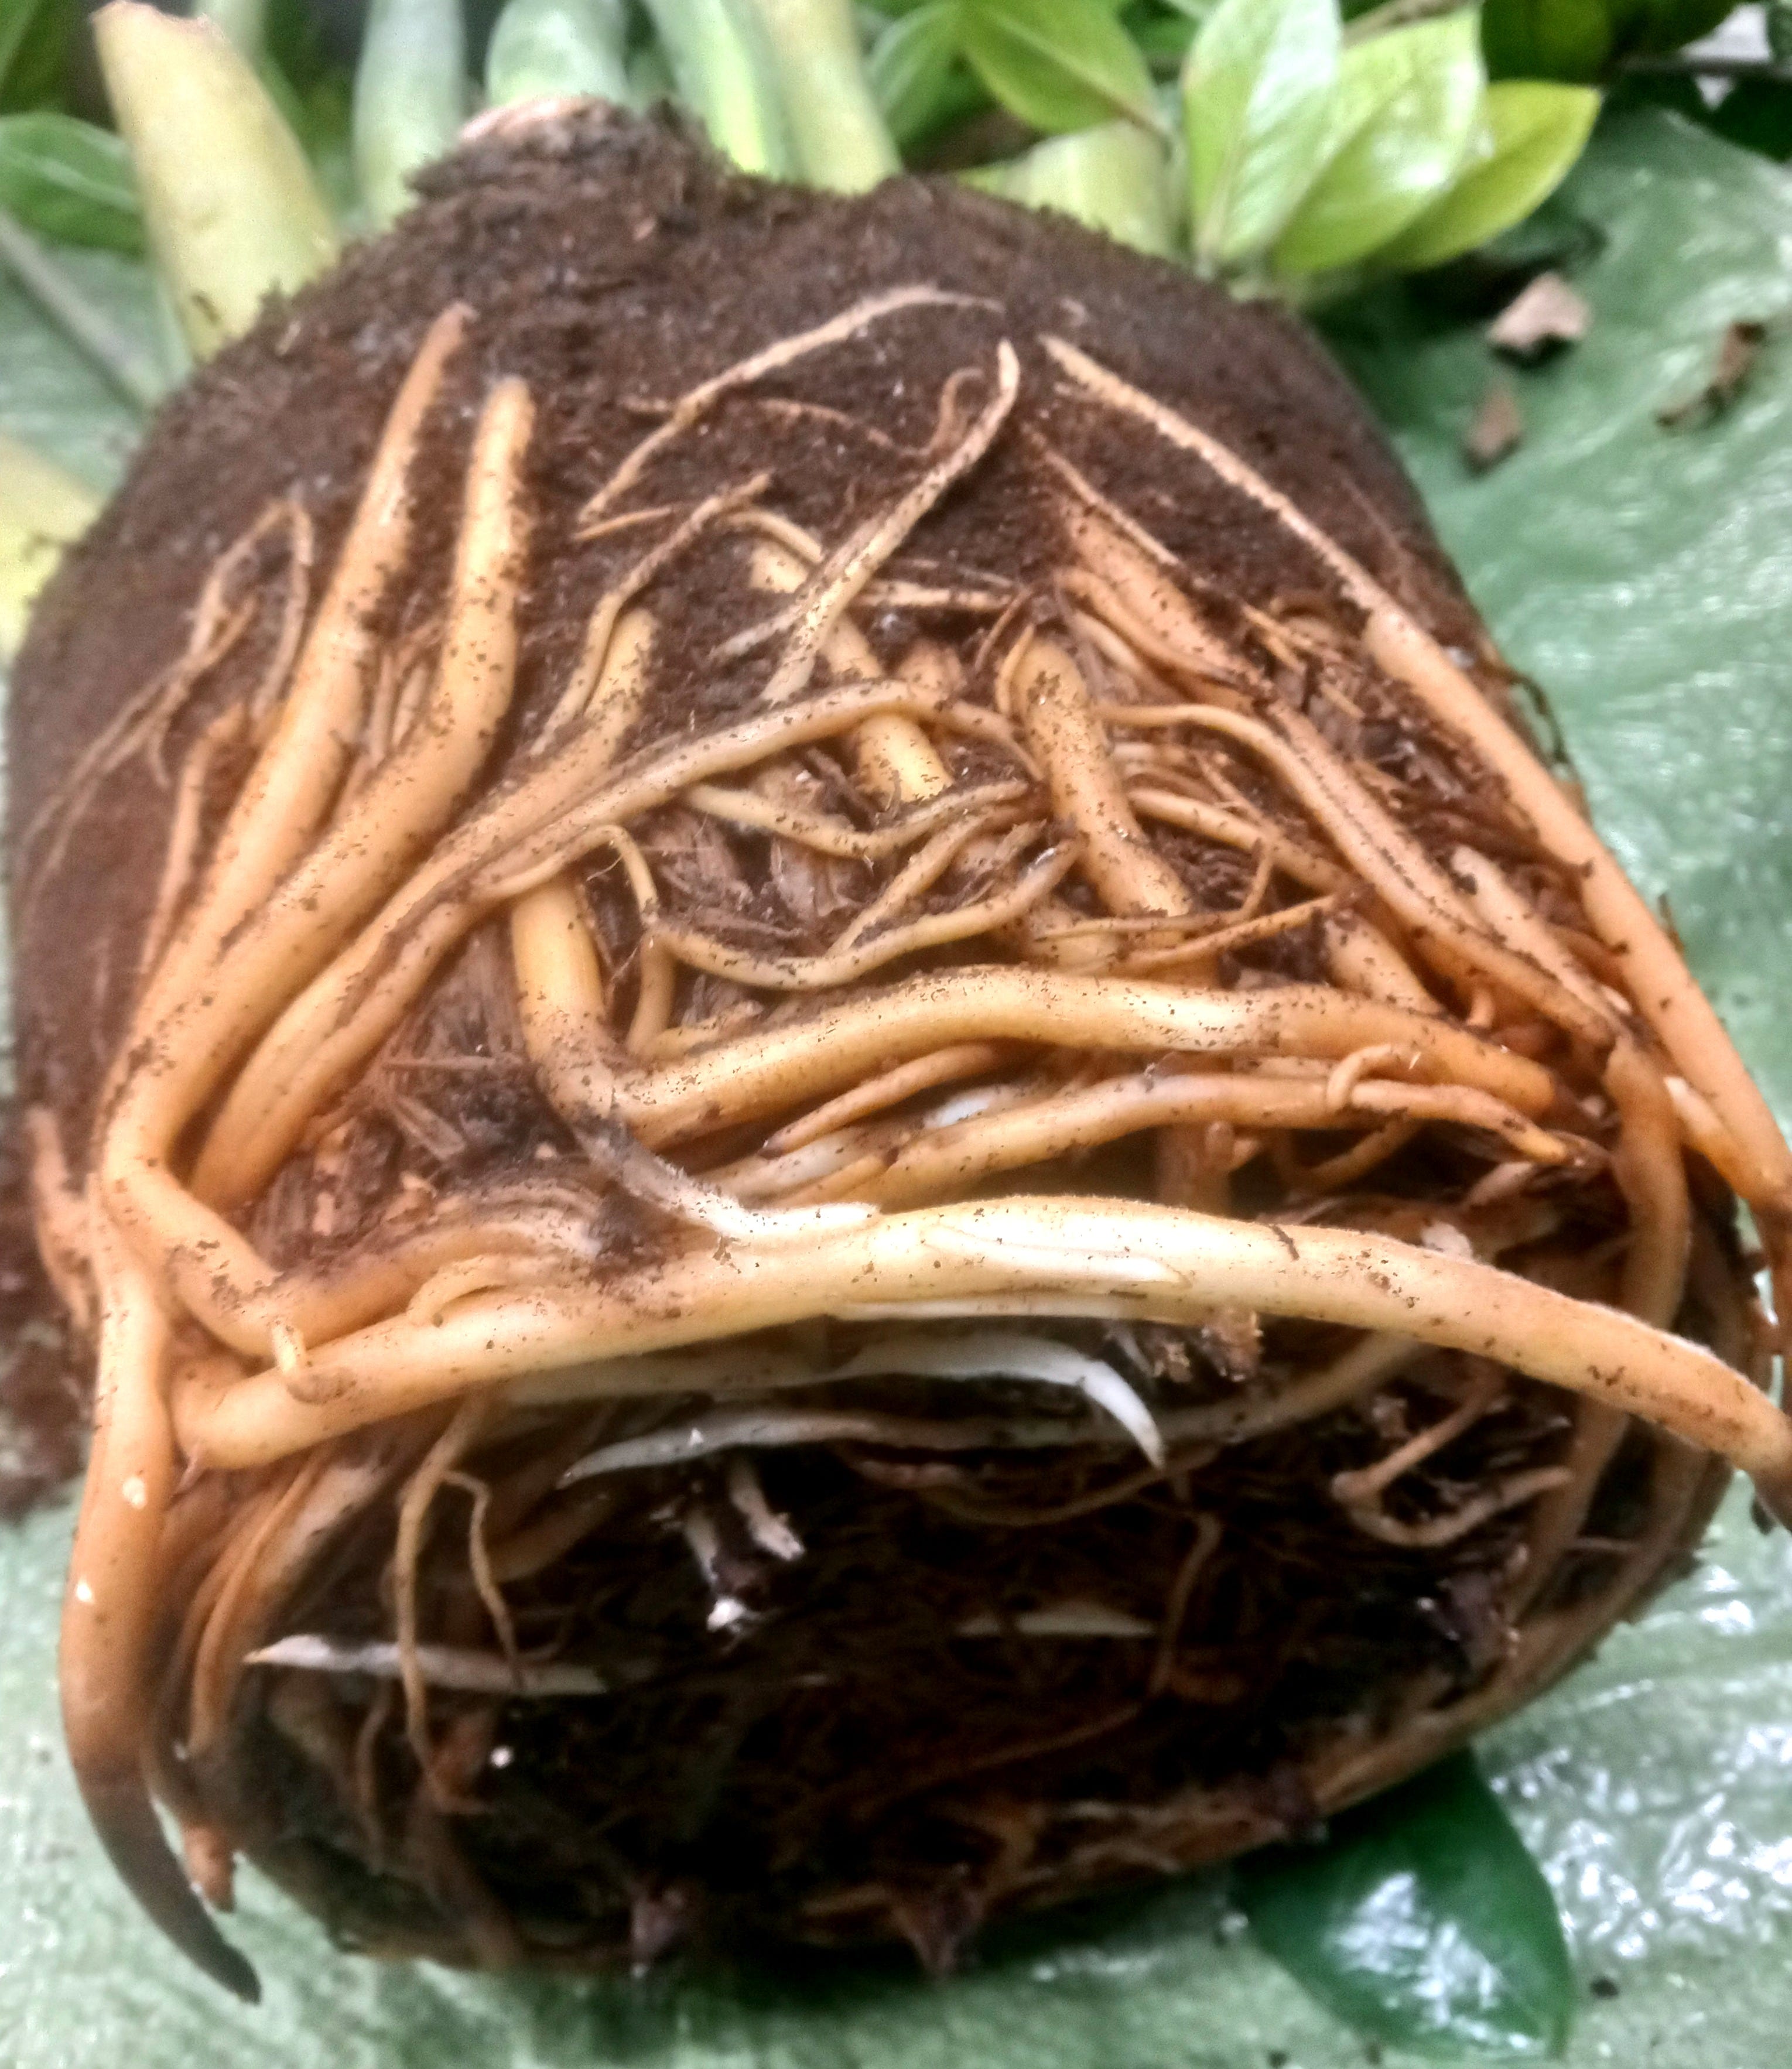
When a plant is ‘pot-bound’, it means it’s outgrown its pot. You’ll know your plant is pot-bound because its roots will be tightly packed, reaching and even sticking through the holes at the bottom of its nursery pot and tightly curling around the inside of the pot, often with little or no soil left around the roots. With too little soil to absorb moisture and transfer nutrients to the roots of your plant, it can’t sustain itself and it’s only a matter of time before the leaves across the whole of your plant start to yellow. To check if a plant is pot-bound, carefully remove it from its nursery pot to see what’s going on below the surface.
Solution: Cut back some of the roots and repot your plant into fresh soil in the same pot, or, upgrade your plant to a slightly larger nursery pot. If possible, wait until spring to do this. You can find out all about repotting here (it’s not hard at all).
Reason 5: Feed me!
Because leaves are one of the ways through which plants communicate with us, we rely on them for important information about what they need. Bearing this in mind, yellowing on leaves can be an indicator that your plant has or is running out of food, which, just like us, they get from the earth. The nutrients (nitrogen, phosphorous and potassium are the main players) your plant needs come from the soil it grows in and if, together with giving it the right amount of light and water your plant grows well within a year, then it is likely to have used up all of the nutrients that were available to it. You can keep giving it light and water but without the essential ingredients it needs from the earth, it simply won’t grow as well, and will start to show signs that it’s hungry or deficient.
Solution: About six months after having bought or potted your plant up into fresh houseplant compost, start giving it a fortnightly dose of liquid plant food when you water it. You only need to feed from spring through to autumn, when your plant is actively growing. This will keep it topped up with all the nutrients it needs to grow strong and healthy until you repot it again in two-to-three years.
Even if your plant isn’t pot-bound after two-to-three years, it’s still necessary to repot it into fresh compost in order to renew the nutrients it needs to grow. The same rule applies even if you’ve religiously fed your plant through numerous growing seasons. The fact is that for our foliar family, there is no substitute for the hearty meal that is compost.
Reason 6: Light energy
Just as your plants need nutrients from below, they need light from above. It’s sunlight in reaction with chlorophyll that makes your plants green and generates the energy they need to grow. Too little of those golden rays will therefore inevitably lead to your plant’s leaves looking pale and yellow. If you’ve ever had a plant with its ‘back’ to the wall, you’ll have noticed that the growth on this side generally tends to be weaker and tends to die off. The reason, no light! Other symptoms will include little or no new growth, or thin, weak, ‘leggy’ growth as your plants look for the nearest natural light source.
Solution: Firstly, find out how much light your plant likes. Some need full sun while others prefer filtered or indirect light. This will help you position your houseplants in the best possible places in your home, finding that sweet compromise between their needs, and your own.
Secondly, consider investing in grow lights or moving your houseplants closer to a natural light source in winter. While a spot with filtered light might be perfect in mid-summer, it may be too dark in winter, jeopardising your plant’s chances of survival.
Lastly, every couple of weeks it’s a good idea to rotate your plants by a few centimetres so that light regularly reaches all of its leaves. This will prevent your plant leaning or growing unevenly as well as keeping it looking luscious.
*on the flipside of this coin, keep an eye on your houseplants over the summer months when the days are long and the light levels more intense. Too much bright direct light can scorch your plant’s leaves, resulting in burnt yellow looking patches. Consider moving them a bit further away from the window for a couple of months.
Reason 7: A cold snap
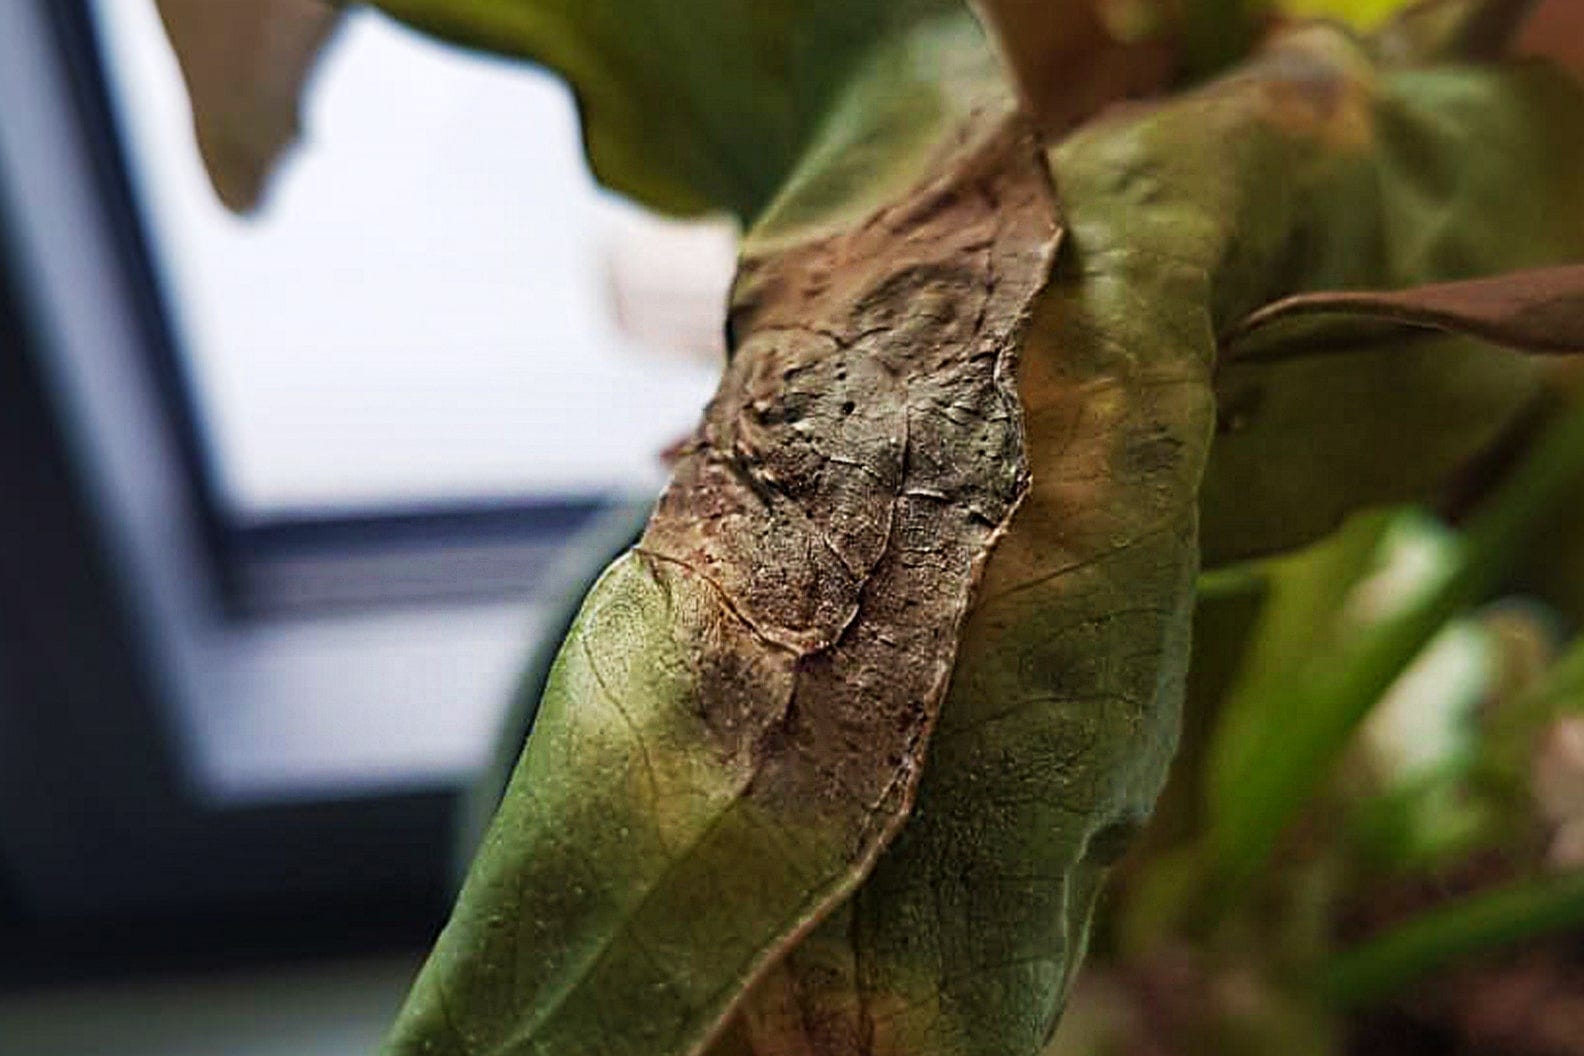
Cold drafts from doors, windows or aircons as well as sudden drops in temperature can shock your plants, causing their leaves to go yellowy-brown-black and to droop dramatically. This is particularly the case for more tropical houseplants that can’t tolerate temperatures below 10-15 degrees Celsius. Given that most plants are made up of 90% water, cold can cause the cells to freeze and then rupture.
Solution: As much as possible, keep your plants at a consistently warm temperature. Avoid placing them right next to windows and doors that you open regularly, and trapping them between curtains and windows in winter. Also avoid placing them in the direct drafts of air conditioners.
If your plant does get shocked from cold, it can cause some or irreversible damage. Where only some leaves are damaged, cut these off, move your plant to a warmer spot and only water very lightly.
Reason 8: It needs more steam
Many of the houseplants that we keep, from Monsteras to Pothos, Philodendron to Ferns, grow in naturally humid environments in the wild. This means they generally grow in more sub/tropical areas that have high rainfall, under dense tree canopies, or near natural water sources which generate lots of water vapour.
Too little humidity can cause the tips and edges of your plants leaves to go yellow and then brown and crispy. It can also cause young, new leaves, buds and flowers to go yellow and drop off before they mature.
Solution: The humidity in most homes should be sufficient for even our tropical houseplants but it can be more of a challenge in very well-insulated new-build properties and in winter when the heating is on. That said, there are many ways to give your plants a helping hand, from grouping them together to positioning them in the naturally steamier rooms of your home, like the kitchen or bathroom. For a full list of helpful hints, check out our article Humidity: Crispy edges, clay balls and climate control.
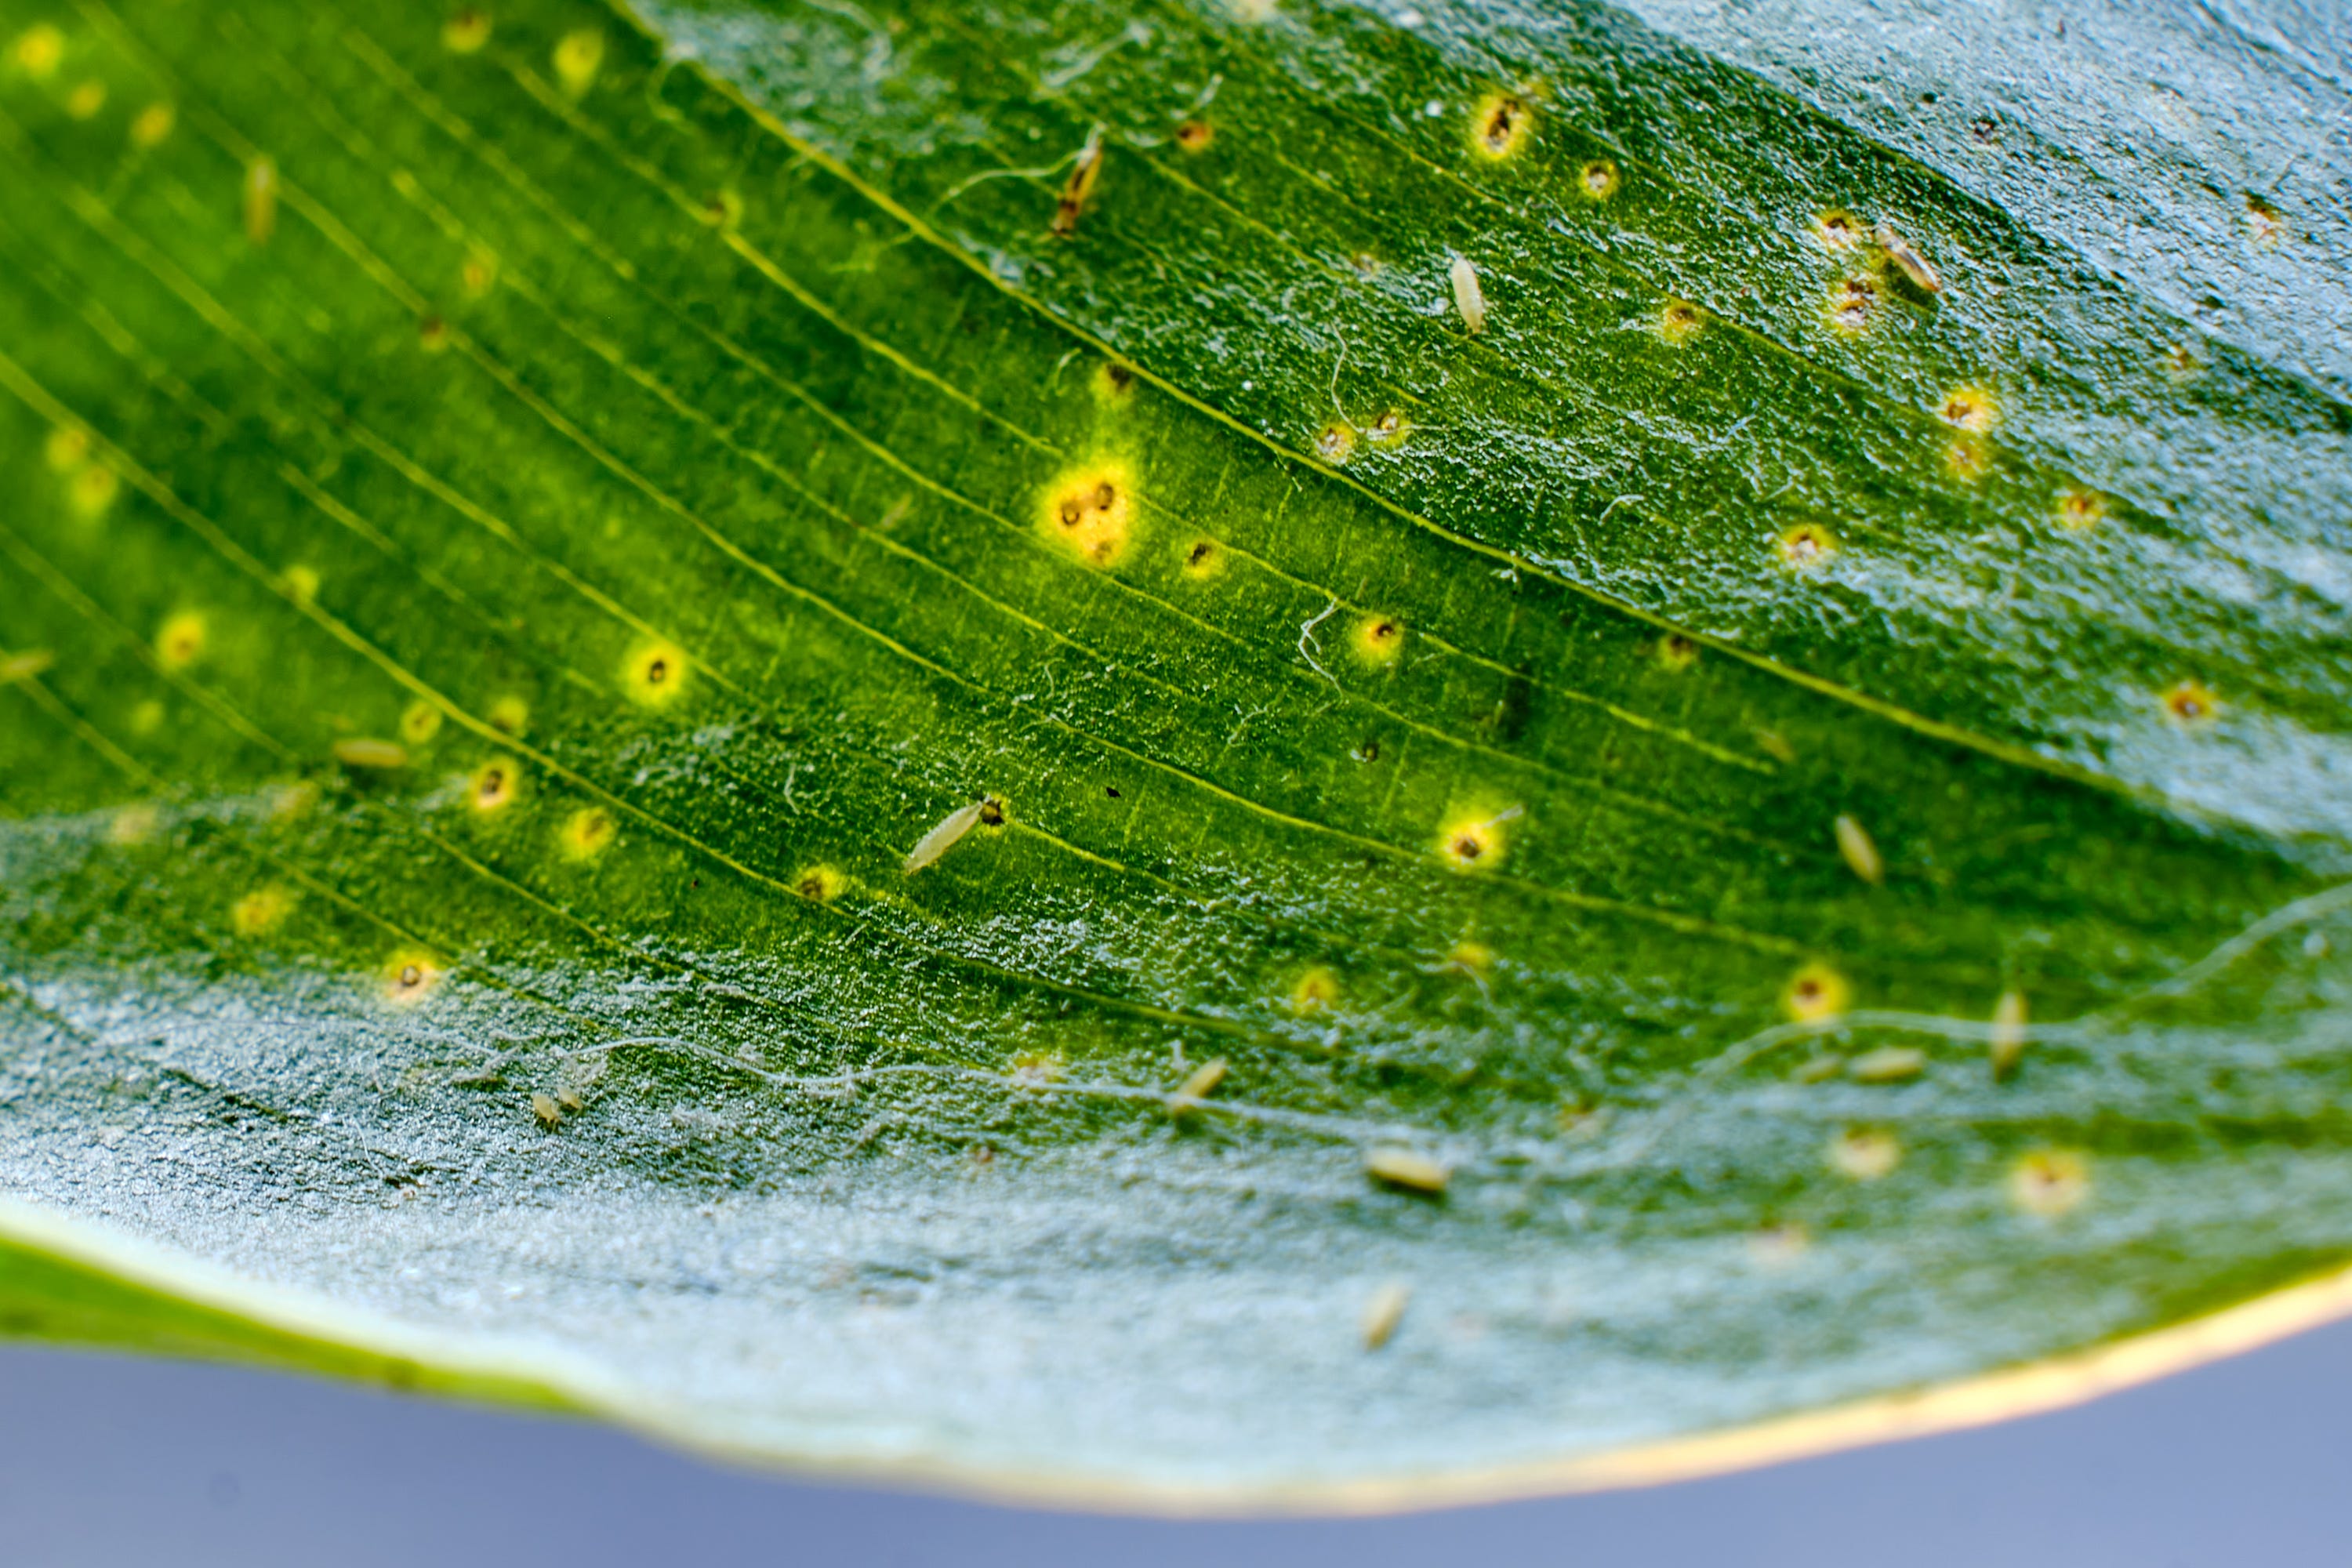
Image thanks to Andrey Zhuravlev, Istock.
Reason 9: Bugs (gross)
If you’re seeing leaves that are speckled yellow and discoloured, or are emerging yellow and deformed, you may want to check for bugs. This will generally be the result of sap-sucking pests like Red Spider Mite, Thrips, Scale Insect, Mealy Bug or Aphids, which enjoy feeding on the sugary juices in your plants leaves and stems.
Solution: The earlier you spot them, the better. And the sooner you can identify which pest is causing the damage, the sooner you can target-treat them. Pests like Mealy Bug and Scale are easy to wipe off with a damp cloth or paintbrush - which gets into the nooks and crannies. Thrips are best removed with sticky tape, and Aphid and Red Spider Mite can be rinsed off with water. It’s always best to isolate your plant at the first sign of pests, and you will very likely need to repeat your treatment regularly over a few weeks until you’ve knocked the critters on the head.
Even better than treating your plants once a pest infestation has taken hold, try avoiding the situation altogether. Do this by matching your houseplants’ ideal growing conditions as closely as possible i.e. the right water, light, nutrition and humidity, and get into the habit of giving them a regular once over, looking under their leaves especially. Give your more lush and leafy plants a regular shower under room temperature water. And consider applying a preventative bug control spray which generally contains micro-nutrients to help boost your plants immunity in fighting against pests, and coats the leaves in a thin sticky layer that prevents sap-suckers from getting their mouthparts in.
Reason 10: It’s gone viral
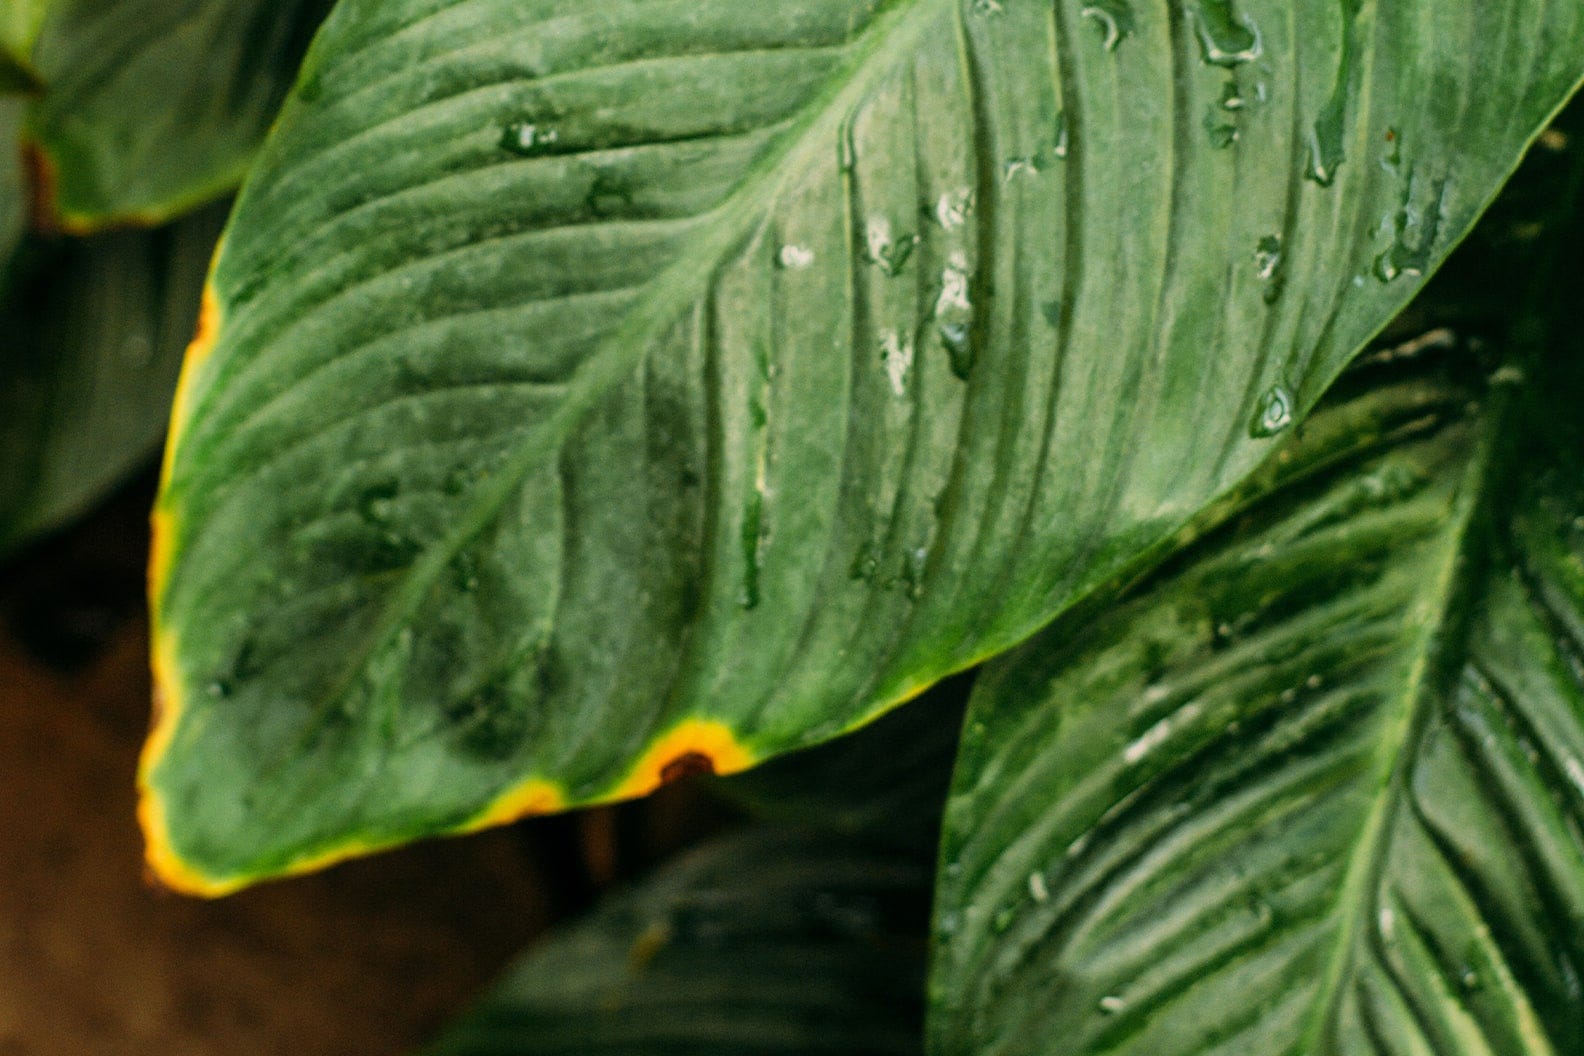
You’ll know your plant has a viral infection if you see yellow blotchy patches that start on and spread across the leaves. Another sure sign is brown patches with a distinct yellow ring around them.
It’s not always easy to tell where viral/bacterial or fungal infections come from on plants. Sometimes, like pests, they can be dormant on your plant just waiting for the right environmental conditions to kick into action. Sometimes they can blow in on air from outside or be carried on your clothes. And other times they can be triggered by soil conditions that are too wet or air that is too still and damp. It’s worth noting that houseplants are more vulnerable to pests and diseases when their immunity is compromised by lack of light, insufficient water and/or nutrients and being pot-bound.
Solution: First off, quarantine your plant by isolating it from the rest of your plant family. Secondly, go through a quick checklist of things that may have caused it i.e. overwatering, lack of airflow, a new plant introduced to your collection. Third, using clean, sterilised tools, cut off any infected plant parts, and lastly, once you’ve identified what you think the infection is, apply a fungicidal spray to treat your plant and prevent further spread.
Yellowing leaves on the plants in our indoor gardens can have us scratching our heads as to the cause. Most often, the reason isn’t nearly as sinister-seeming as some of those listed above, but it’s good to be aware of them so you can tick them off your troubleshooting list if nothing else. They’re also completely normal and natural, and your plants are just as likely to show the occasional signs of stress and ill-health as you are. No need to panic plant parents!
Such a helpful article.